Nikon D40X Owners Manual: A Comprehensive Guide
Welcome! This detailed manual offers a step-by-step journey, ensuring you master your Nikon D40X, from initial setup to advanced photographic techniques.
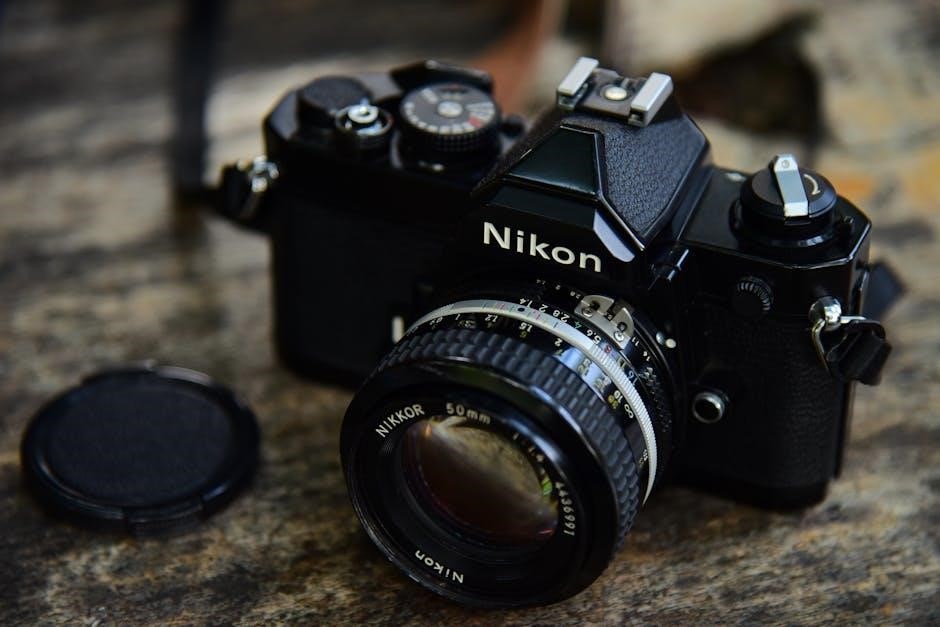
Congratulations on acquiring the Nikon D40X, a fantastic entry into the world of Digital Single-Lens Reflex (DSLR) photography! This camera is designed to deliver exceptional image quality with a user-friendly interface, making it perfect for both beginners and enthusiasts. This manual serves as your comprehensive companion, guiding you through every aspect of the D40X’s functionality.
We’ll explore everything from initial setup and understanding the camera’s controls to mastering shooting modes and achieving stunning results. This guide will help you unlock the full potential of your Nikon D40X, enabling you to capture memorable moments with clarity and creativity. Get ready to embark on a rewarding photographic adventure!
Unboxing and Initial Setup
Carefully unpack your Nikon D40X, ensuring all components are present: the camera body, kit lens (if included), battery, battery charger, USB cable, and this owner’s manual. Begin by inserting the battery into the battery compartment, located on the bottom of the camera. Next, connect the battery charger and fully charge the battery before first use – this typically takes a few hours.
Insert a compatible memory card (SD card) into the designated slot. Power on the camera and follow the on-screen prompts to set your preferred language, date, and time. Your Nikon D40X is now ready for its first photographic journey!
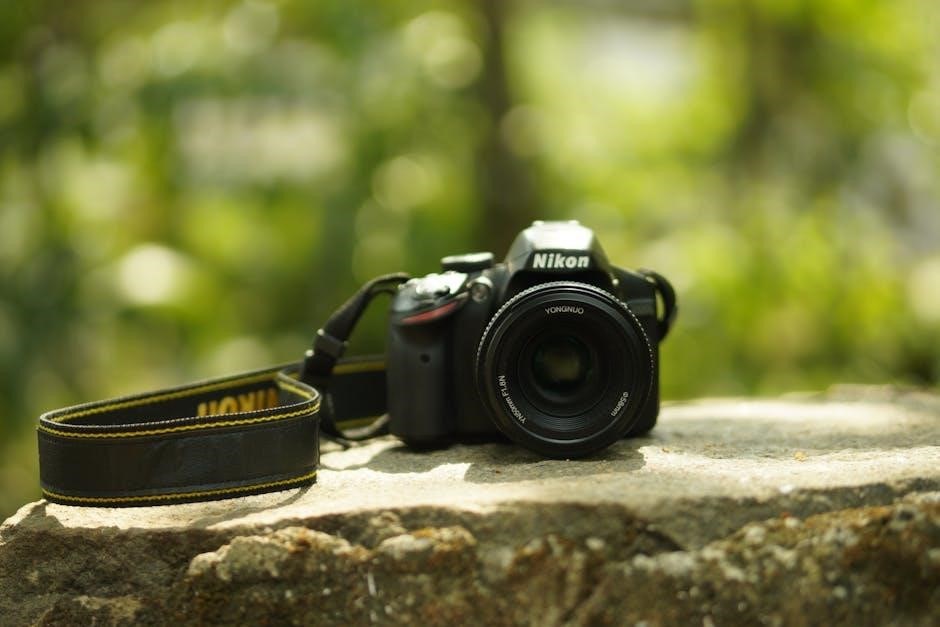
Understanding the Camera Body
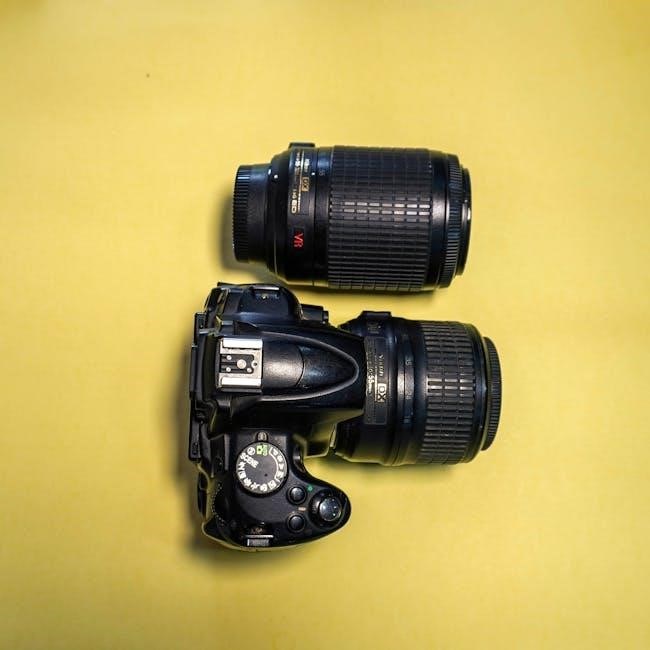
The Nikon D40X boasts a robust and ergonomic design. Familiarizing yourself with its layout is crucial. The camera body houses essential controls for shooting, navigating menus, and adjusting settings. Key areas include the front and rear panels, the top panel with its mode dial and shutter button, and the bottom panel containing the battery compartment and tripod socket.
Take time to locate the various buttons, dials, and ports. Understanding their functions will streamline your workflow and allow for quick adjustments in diverse shooting scenarios. This foundational knowledge unlocks the D40X’s full potential.
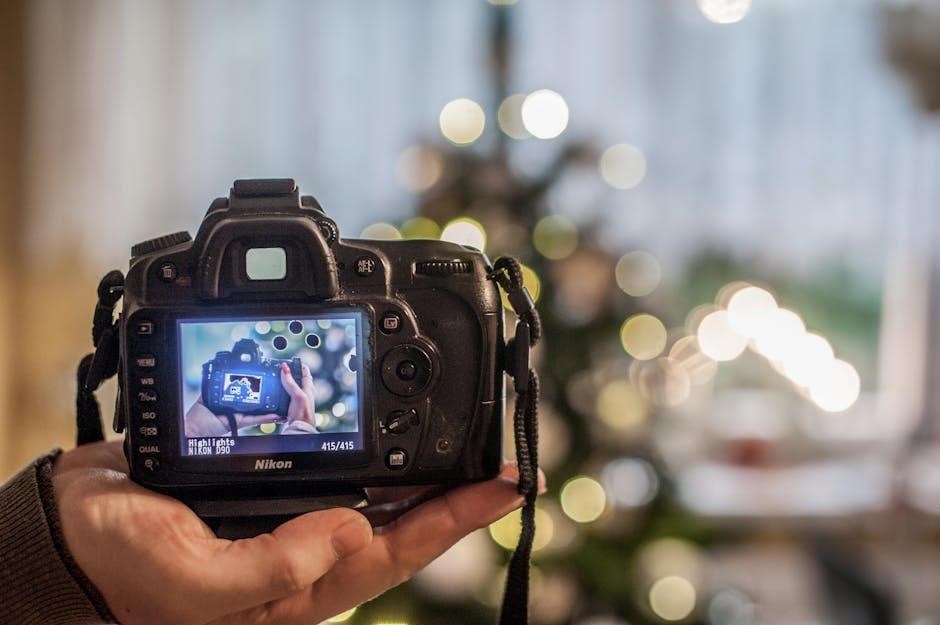
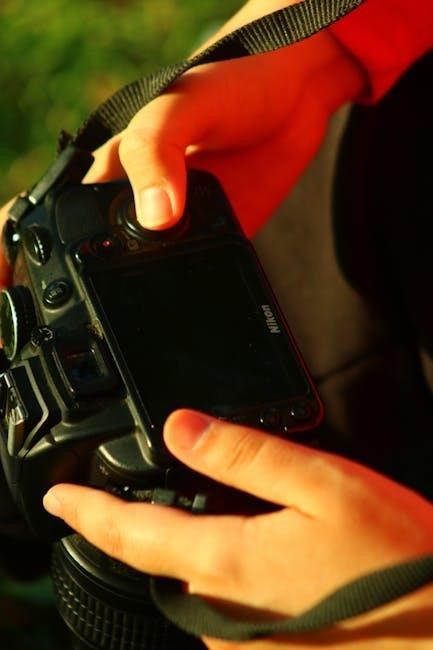
Front and Rear Panel Overview
The front panel of the Nikon D40X features the lens mount, infrared receiver, and the depth-of-field preview button. These elements are vital for attaching lenses and controlling aperture for desired focus. The rear panel houses the LCD screen for image review and menu navigation. You’ll also find the diopter adjustment dial, viewfinder, and various buttons for playback, menu access, and image deletion.
Understanding the placement of these controls allows for efficient operation. The rear control dial facilitates quick adjustments while reviewing images, enhancing your overall shooting experience.
Top Panel Controls and Functions
The Nikon D40X’s top panel is command central. Here, you’ll find the main dial for selecting shooting modes – Auto, Scene, P, S, A, and M – offering varying levels of creative control. The shutter button initiates image capture, while the exposure compensation button allows for quick adjustments to brightness.
Additionally, the top panel features the pop-up flash release button and the control dial for adjusting settings within selected modes. Familiarizing yourself with these controls is key to swiftly adapting to different shooting scenarios and achieving desired results.
Bottom Panel and Battery Compartment
The D40X’s bottom panel houses the battery compartment, secured by a latch. This compartment accepts the EN-EL9 battery, providing power for your photographic adventures. Adjacent to the battery compartment is the SD card slot, where you’ll insert memory cards to store your captured images.
A tripod socket is also located on the bottom, enabling stable shooting with a tripod. Always ensure the latch is securely fastened when inserting or removing the battery to prevent accidental disconnections during operation. Proper battery handling extends its lifespan.
Basic Camera Settings
Before embarking on your photographic journey with the Nikon D40X, configuring basic settings is crucial. Begin by setting the correct date and time, essential for accurate image timestamps. Next, choose your desired image quality and size; higher resolutions capture more detail but require more storage space.
Familiarize yourself with the shooting modes – Auto is ideal for beginners, while Scene modes offer presets for specific situations. Explore Program (P), Shutter-priority (S), Aperture-priority (A), and Manual (M) modes as your skills develop, granting greater creative control.
Setting the Date and Time
Accurate date and time settings are fundamental for organizing and referencing your photographs taken with the Nikon D40X. To set these, navigate to the camera’s setup menu. Use the multi-selector to highlight the ‘Date/Time’ option and press the OK button. You’ll then be able to adjust the year, month, day, hour, and minute.
Ensure you select the correct date and time format (MM/DD/YYYY or DD/MM/YYYY) based on your preference. Proper timekeeping ensures your images are chronologically ordered, simplifying post-processing and archiving workflows. Confirm your settings and exit the menu.
Choosing Image Quality and Size
Selecting the appropriate image quality and size is crucial for balancing file size and detail in your Nikon D40X photographs. Access the shooting menu to find the ‘Image Quality’ setting. You can choose between RAW, JPEG Fine, JPEG Normal, and JPEG Basic. RAW offers maximum editing flexibility, while JPEGs are smaller and ready to share.
For image size, options include Large, Medium, and Small. Larger sizes provide more detail for printing, but consume more memory card space. Consider your intended use – web display requires smaller sizes than large prints. Experiment to find the optimal balance for your needs.
Selecting Shooting Modes (Auto, Scene, P, S, A, M)
The Nikon D40X offers a range of shooting modes to suit different skill levels and photographic situations. Auto mode simplifies operation, letting the camera handle all settings. Scene modes (Portrait, Landscape, etc.) optimize settings for specific subjects. P (Program) mode allows some control while the camera manages aperture and shutter speed.
For more creative control, use S (Shutter Priority) to set shutter speed, A (Aperture Priority) to set aperture, and M (Manual) for complete control over both. Understanding these modes unlocks your photographic potential, allowing you to capture images exactly as envisioned.
Focusing and Exposure
Achieving sharp images relies on mastering focus and exposure. The Nikon D40X provides various autofocus modes – Single, Continuous, and Auto – to track stationary or moving subjects. Utilize the selectable focus points to pinpoint your desired area of sharpness. Exposure is controlled by aperture, shutter speed, and ISO.
The camera’s exposure metering modes (Matrix, Center-weighted, Spot) analyze the scene’s light. Understanding the interplay between aperture (depth of field) and shutter speed (motion blur) is crucial for creative control and properly exposed photographs.
Autofocus Modes and Focus Points
The Nikon D40X offers three autofocus (AF) modes: Single-servo AF (AF-S) for stationary subjects, Continuous-servo AF (AF-C) for tracking moving subjects, and Auto-servo AF (AF-A) which automatically switches between the two. Selecting the correct mode is vital for sharp results.
The camera features a multi-point autofocus system with three focus points. You can choose to use all three, or select a single point for precise focusing. Focus point selection is done via the directional buttons on the camera back. Experiment with different points to achieve focus on your desired subject area.
Exposure Metering Modes
The Nikon D40X provides three exposure metering modes to help achieve properly exposed images in various lighting conditions. Matrix metering evaluates the entire scene for balanced exposure, ideal for general photography. Center-weighted metering prioritizes the center of the frame, useful for portraits or subjects in the middle.
Spot metering measures light from a very small area, perfect for challenging lighting or when precise exposure of a specific subject is needed. Understanding these modes and when to use them is crucial for consistent, well-exposed photographs. Experiment to find what works best for your shooting style.
Understanding Aperture and Shutter Speed
Aperture and shutter speed are fundamental to photography, controlling light and creative effects. Aperture, measured in f-stops (e.g., f/2.8, f/8), adjusts the lens opening, impacting depth of field – a wider aperture (lower f-number) creates shallow depth, blurring backgrounds.
Shutter speed, measured in seconds or fractions of a second (e.g., 1/200s, 1s), controls how long the sensor is exposed to light, affecting motion blur. Faster speeds freeze action, while slower speeds create motion blur. Mastering these settings unlocks creative control over your images.
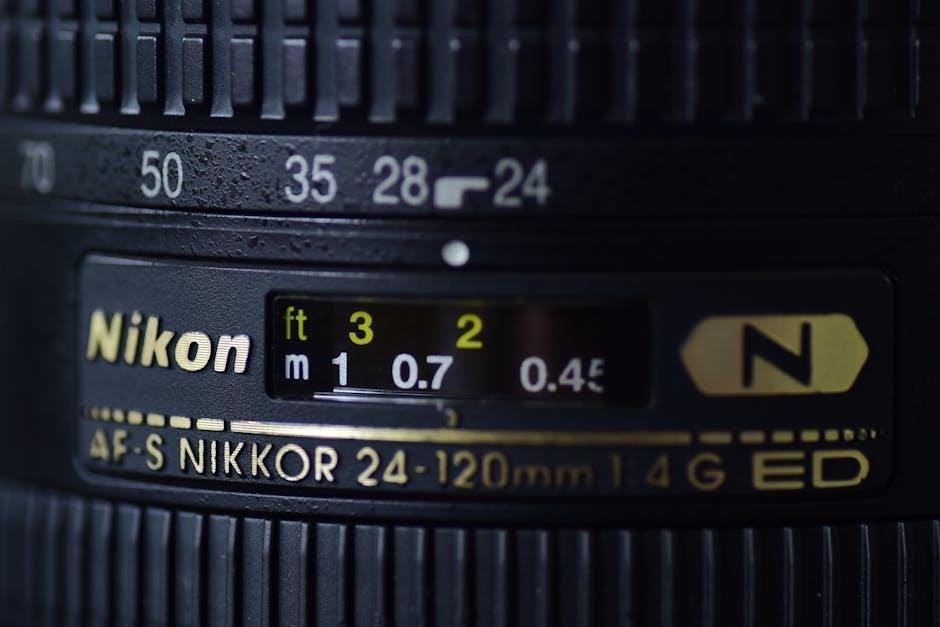
Working with Lenses
Nikon’s lens system offers versatility for the D40X. Understanding lens compatibility is crucial. The D40X utilizes Nikon DX format lenses, specifically designed for its smaller sensor size. These lenses provide optimal image quality and coverage. When attaching a lens, align the mounting marks and gently rotate until it clicks securely.
Detaching requires pressing the lens release button. Explore various focal lengths – wide-angle for landscapes, telephoto for distant subjects. Consider Nikon’s recommended lenses for the D40X to maximize performance and image quality.

Nikon DX Format Lenses
Nikon DX format lenses are specifically engineered for digital SLR cameras featuring APS-C sized sensors, like the D40X. These lenses project a smaller image circle, optimized for the sensor’s dimensions, resulting in sharper images and efficient performance. They are generally more compact and lightweight than FX (full-frame) lenses.
While FX lenses are compatible, they may result in a slight reduction in image area due to vignetting. DX lenses offer excellent value and are ideal for everyday photography. Explore the wide range of DX lenses available, covering various focal lengths and purposes.
Attaching and Detaching Lenses
To attach a lens, align the mounting marks on the lens and camera body. Gently push the lens in and rotate it clockwise until it clicks into place. Ensure a secure fit; do not force it. To detach, press the lens release button on the camera body while simultaneously rotating the lens counterclockwise.
Always handle lenses with care, avoiding touching the glass elements. Store lenses with the rear cap on to protect them from dust and scratches. Regular cleaning with a lens cloth will maintain optimal image quality. Proper attachment ensures optimal performance.
Lens Compatibility and Recommendations
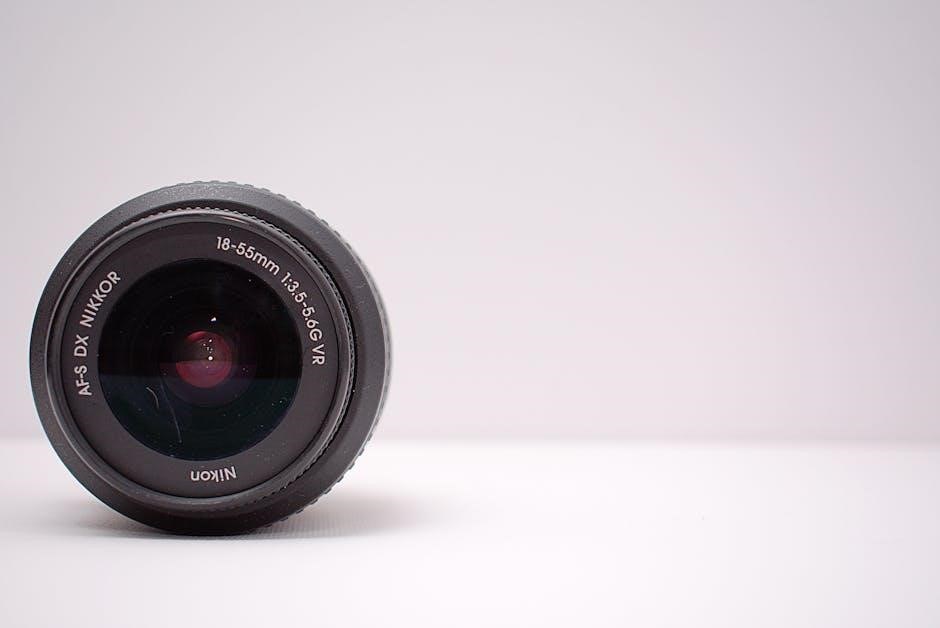
The Nikon D40X is compatible with a wide range of Nikon DX format lenses, offering versatility for various photographic styles. These lenses are specifically designed for cameras with an APS-C sensor, like the D40X, providing an optimal image circle.
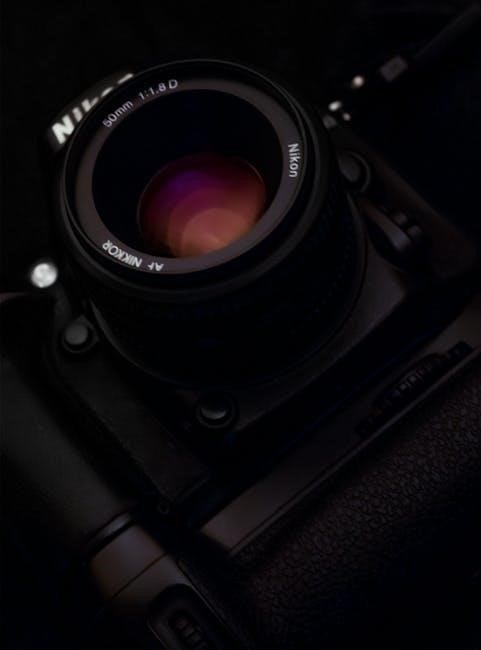
For beginners, the 18-55mm kit lens is an excellent starting point. Consider a 55-200mm zoom lens for wildlife or sports photography. Experienced users might explore prime lenses like a 35mm or 50mm for superior image quality and low-light performance. Always check lens compatibility before purchasing.
Shooting in Different Modes
The Nikon D40X offers a variety of shooting modes to suit different skill levels and photographic situations. Auto mode simplifies operation, letting the camera handle all settings – perfect for beginners. Scene modes, like Portrait and Landscape, optimize settings for specific subjects, delivering impressive results with minimal effort.
For greater control, explore Program (P), Shutter-priority (S), Aperture-priority (A), and Manual (M) modes. These allow you to adjust settings like aperture, shutter speed, and ISO, unlocking your creative potential and achieving professional-looking images.
Auto Mode for Beginners
Nikon D40X’s Auto mode is designed for simplicity, ideal for those new to DSLR photography. The camera intelligently analyzes the scene and automatically selects the optimal settings – aperture, shutter speed, ISO, and white balance – ensuring well-exposed and sharp images. Simply point and shoot! This mode eliminates the need to understand complex photographic principles, allowing you to focus on composition and capturing the moment.
While offering convenience, remember Auto mode limits creative control. As you gain experience, exploring other shooting modes will unlock your photographic potential and allow for personalized image creation.
Portrait Mode: Capturing Stunning Portraits
Nikon D40X’s Portrait mode prioritizes capturing flattering images of people. It achieves this by utilizing a wider aperture, creating a shallow depth of field – blurring the background and emphasizing your subject. This effect, known as bokeh, isolates the person, drawing the viewer’s eye directly to them. The camera also subtly enhances skin tones for a more pleasing result.
For best results, position your subject against a relatively uncluttered background. Ensure good lighting, avoiding harsh shadows. Experiment with different poses and expressions to capture personality!
Landscape Mode: Breathtaking Scenery
The Nikon D40X’s Landscape mode is specifically designed for capturing expansive outdoor scenes with exceptional clarity and detail. It achieves this by employing a smaller aperture, maximizing depth of field – ensuring everything from foreground to background remains sharply in focus. This mode also boosts color saturation, resulting in vibrant and visually appealing landscapes.
To maximize impact, utilize a wide-angle lens and compose your shot with leading lines. Pay attention to the horizon and ensure it’s straight. Good lighting, particularly during the “golden hours,” will dramatically enhance your landscape photos.
Navigating the Menu System
The Nikon D40X’s menu system, accessed via the ‘Menu’ button, is your gateway to customizing camera settings. It’s organized into several tabs – Shooting Menu, Recording Menu, Setup Menu – each containing numerous options. Use the directional pad to navigate and the ‘OK’ button to select.
Familiarize yourself with the key settings within each menu. The Shooting Menu controls image quality, ISO, and white balance. The Recording Menu manages file formats and image editing. The Setup Menu handles date/time, display settings, and custom functions. Don’t hesitate to experiment!
Customizing Menu Settings
Personalize your D40X by diving into the menu customization options. Within the Setup Menu, locate ‘Custom Setting’. This allows you to tailor button functions, display settings, and autofocus behavior to your shooting style. For example, you can assign the ‘AF-ON’ button for back-button focus, or adjust the viewfinder display.
Experiment with these settings to optimize your workflow. Consider creating a ‘My Menu’ bank to store frequently used settings for quick access. Remember to reset to defaults if you become lost, using the ‘Reset’ option within the Setup Menu.
Understanding Menu Options
The Nikon D40X menu is logically organized into several tabs: Playback, Shooting, Setup, and Custom Settings. The Playback menu controls image review and deletion options. The Shooting menu governs image quality, autofocus, and metering modes. Setup handles camera settings like date/time and file naming.
Custom Settings, as previously mentioned, allows personalized button assignments. Explore each menu thoroughly; the on-screen help provides concise explanations. Don’t be afraid to experiment, but note changes. Refer to the comprehensive index in the manual for specific setting details and their impact on image capture.
Transferring Images to Your Computer
Connecting your Nikon D40X to your computer is straightforward using a USB cable. Ensure the camera is powered off before connecting. Once connected, power on the camera and select ‘USB’ from the camera’s menu. Your computer should recognize the D40X as a removable drive.
Alternatively, utilize Nikon Transfer 2 software (available from Nikon’s website). This software simplifies image transfer and offers organizational features. It can automatically download photos and even rename files. Regularly update the software for optimal compatibility and performance. Back up your images to multiple locations for safekeeping!
Connecting via USB
Establishing a USB connection between your Nikon D40X and computer is a simple process. First, ensure your camera is switched off. Locate the USB port on the camera’s side and connect the USB cable securely. Then, power on the D40X and navigate to the camera’s menu. Select the ‘USB’ option; the camera will then appear as a removable drive on your computer.
For seamless transfer, avoid disconnecting the camera mid-transfer. Some operating systems may require driver installation. If prompted, use the drivers provided with your camera or download them from Nikon’s support website.
Using Nikon Transfer 2 Software
Nikon Transfer 2 is a dedicated application designed for efficient image transfer from your D40X to your computer. Download and install the software from Nikon’s official website. Once installed, connect your camera via USB as previously described. Launch Nikon Transfer 2, and it should automatically detect your D40X.
The software offers options for selecting images for transfer, organizing them into folders, and even applying basic image adjustments. It streamlines the process, providing a user-friendly interface compared to manual file copying. Regularly updating Nikon Transfer 2 ensures optimal compatibility.
Troubleshooting Common Issues
Encountering problems? This section addresses frequent D40X issues. Error messages often indicate specific problems; consult the manual’s error code list for solutions. Battery problems – ensure the battery is fully charged and properly inserted. Try a different battery if issues persist. Image quality concerns usually stem from incorrect settings; verify resolution, sharpness, and white balance.
If problems continue, reset the camera to factory defaults (refer to the menu); Nikon’s support website offers extensive FAQs and troubleshooting guides. Remember to check the memory card for errors too!
Error Messages and Solutions
Decoding camera alerts is key! The Nikon D40X displays error messages to pinpoint issues; “Err” often indicates a mechanical problem with the lens or camera body – try reattaching the lens. “Memory card error” suggests a faulty or incompatible card; test with another. A “Busy” message means the camera is processing data; wait patiently.
For specific codes, consult the detailed error message list in your D40X manual. Resetting the camera to factory settings can sometimes resolve software-related errors. If issues persist, contact Nikon support for professional assistance.
Battery Problems
Maintaining optimal battery life is crucial for extended shooting sessions with your Nikon D40X. If the battery isn’t charging, ensure the charger is properly connected and functioning. A depleted battery may indicate its age – batteries degrade over time. Avoid extreme temperatures, as heat and cold can significantly reduce performance.
To maximize battery life, disable live view when not needed, use the optical viewfinder, and turn off the camera when idle. Consider purchasing a spare battery for uninterrupted shooting during travel or events. Always use genuine Nikon batteries for best results.
Image Quality Concerns
Addressing image quality issues on your Nikon D40X starts with understanding the settings. Soft or blurry images often stem from incorrect focusing or slow shutter speeds. Ensure sufficient light or utilize a tripod for sharper results. Noise, particularly in low light, can be reduced by lowering the ISO setting.
Check your image quality settings – RAW format provides greater editing flexibility, while JPEG offers convenience. Regularly clean the camera’s sensor to eliminate dust spots. Experiment with different picture control settings to achieve desired color and contrast levels.